Opening: the problem we actually face
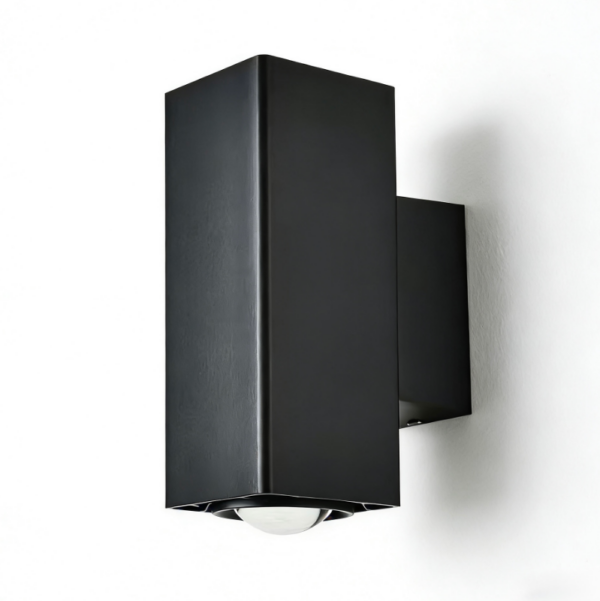
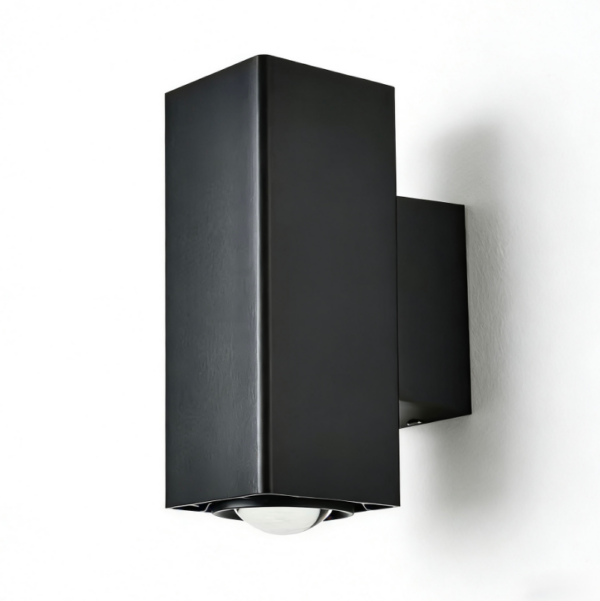
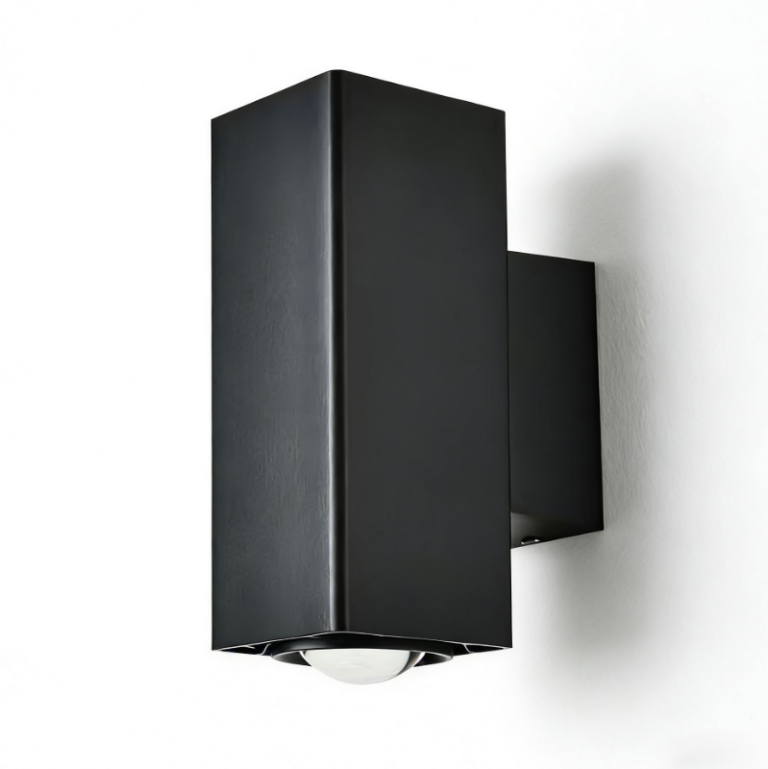
Outdoor LED upgrades promise brighter, longer-lasting light and big energy savings — but go wrong when wiring, mounting, or controls are treated like an afterthought. The real headaches? wet-location failures, incompatible drivers, and motion sensor false-trips that frustrate residents and waste power. If you’re swapping in a high-output fixture or a sleek outdoor wall lamp, you need a plan that covers electrical safety, weatherproofing, and sensor logic before the first screw goes in.
Why this is a problem-driven guide
This piece zeroes in on practical fixes for common failures: thermal runaway from undersized drivers, voltage drop across long runs, and poor ingress protection when fixtures meet rain, salt, or snow. I’ll walk you through planning, wiring, sensor integration, and testing so you fix the root causes rather than patch symptoms. Expect terms like lumens, IP rating, and wire gauge (AWG) — they matter, but I’ll keep it usable, not academic.
Real-world anchor: codes and a quick energy fact
Follow the National Electrical Code (NEC) basics for outdoor branch-circuit wiring — it’s not optional. Also: switching to LEDs typically cuts lighting energy use by roughly 75% compared to incandescent setups, so doing this right pays off beyond just fewer bulb changes. Use those facts to justify time up front for correct wiring and proper drivers.
Tools, materials, and key specs to collect first
Before drilling or stripping conductors, gather: multimeter, GFCI breaker or receptacle, silicone-rated exterior caulk, correct IP-rated fixture (look for IP65+ for exposed walls), matched LED driver or constant-current supply, and the right gauge wire (AWG) for run length. Also note fixture lumens and driver wattage so you can size circuits and estimate voltage drop. Don’t guess wiring needs — calculate them.
Planning the circuit: sizing, protection, and layout
Map each fixture to a circuit that accommodates inrush and continuous load. High-output LEDs have low continuous draw but can present inrush to certain drivers; choose a breaker and wiring that respect both. For runs over ~50 feet, check voltage drop and up the gauge if needed. Use a dedicated outdoor lighting circuit or at least GFCI/arc-fault protection per local code. And plan conduit or sealed junction boxes for future access — retrofit convenience pays off.
Step-by-step wiring essentials
1) Cut power and lock it out. 2) Mount the outdoor-rated junction box and route conductors with proper strain relief. 3) Connect neutral and hot conductors to the driver per manufacturer color codes; secure with waterproof connectors rated for outdoor use. 4) Tie ground to the brass grounding screw on the box and fixture. 5) Seal every opening with silicone or an approved gasket. Test for polarity, continuity, and then energize briefly to check the driver startup behavior. If lights flicker or drivers hum, don’t ignore it — stop and troubleshoot.
Integrating motion and ambient controls
Motion detectors and photocells are great for saving energy and enhancing security — but installation errors cause most complaints. Choose a quality motion sensor outdoor wall light or module that’s compatible with your driver (some sensors require line-voltage loads, others low-voltage). Wire sensors per their spec: line-in, load-out, neutral if required. Program sensitivity and time-outs on-site; adjust the detection zone to avoid false triggers from trees, passing cars, or HVAC exhaust. And if you combine photocell and motion control, set the photocell threshold so sunrise/sunset logic won’t defeat motion events.
Weatherproofing and mounting tips
Securely mount fixtures with all exterior penetrations sealed. Use fixtures with an IP rating appropriate for the exposure — IP65 for general exterior walls, IP66 or higher for marine or high-pressure wash areas. Elevation and orientation matter: mount the luminaire so drivers and connectors face away from direct rain paths. Also consider thermal management — overdriving LEDs or trapping heat under siding will shorten life dramatically.
Testing, commissioning, and common troubleshooting
Commissioning is where most projects fail if rushed. Test these items before handing over: circuit load under full runtime, sensor behavior at different ambient light levels, inrush response, and driver temperature after 30–60 minutes. Typical fixes include tightening wire nuts, replacing undersized gauge runs, or swapping sensors with adjustable sensitivity. If a driver fails rapidly, check for proper ventilation and correct input voltage — those are usually the culprits.
Common mistakes to avoid
– Assuming any outdoor fixture is weatherproof — always check IP and installation details. – Using a generic driver without matching current/voltage to the LED array — leads to flicker or early failure. – Overlooking local code for transformer location, junction box accessibility, or GFCI requirements. —
Advisory: three golden rules before you wire
1) Match electrical specs: always pair fixtures with drivers rated for the fixture’s LED module and expected ambient temperature. 2) Protect the run: size wire for voltage drop and use GFCI/arc protection per code. 3) Control smartly: select sensors and photocells designed for the driver type and tune them on-site to avoid nuisance trips.
Do this and you’ll cut callbacks, energy waste, and premature fixture failures — practical wins every installer wants. For dependable fixtures and controls that align with these rules, look to solutions from Keyida. —