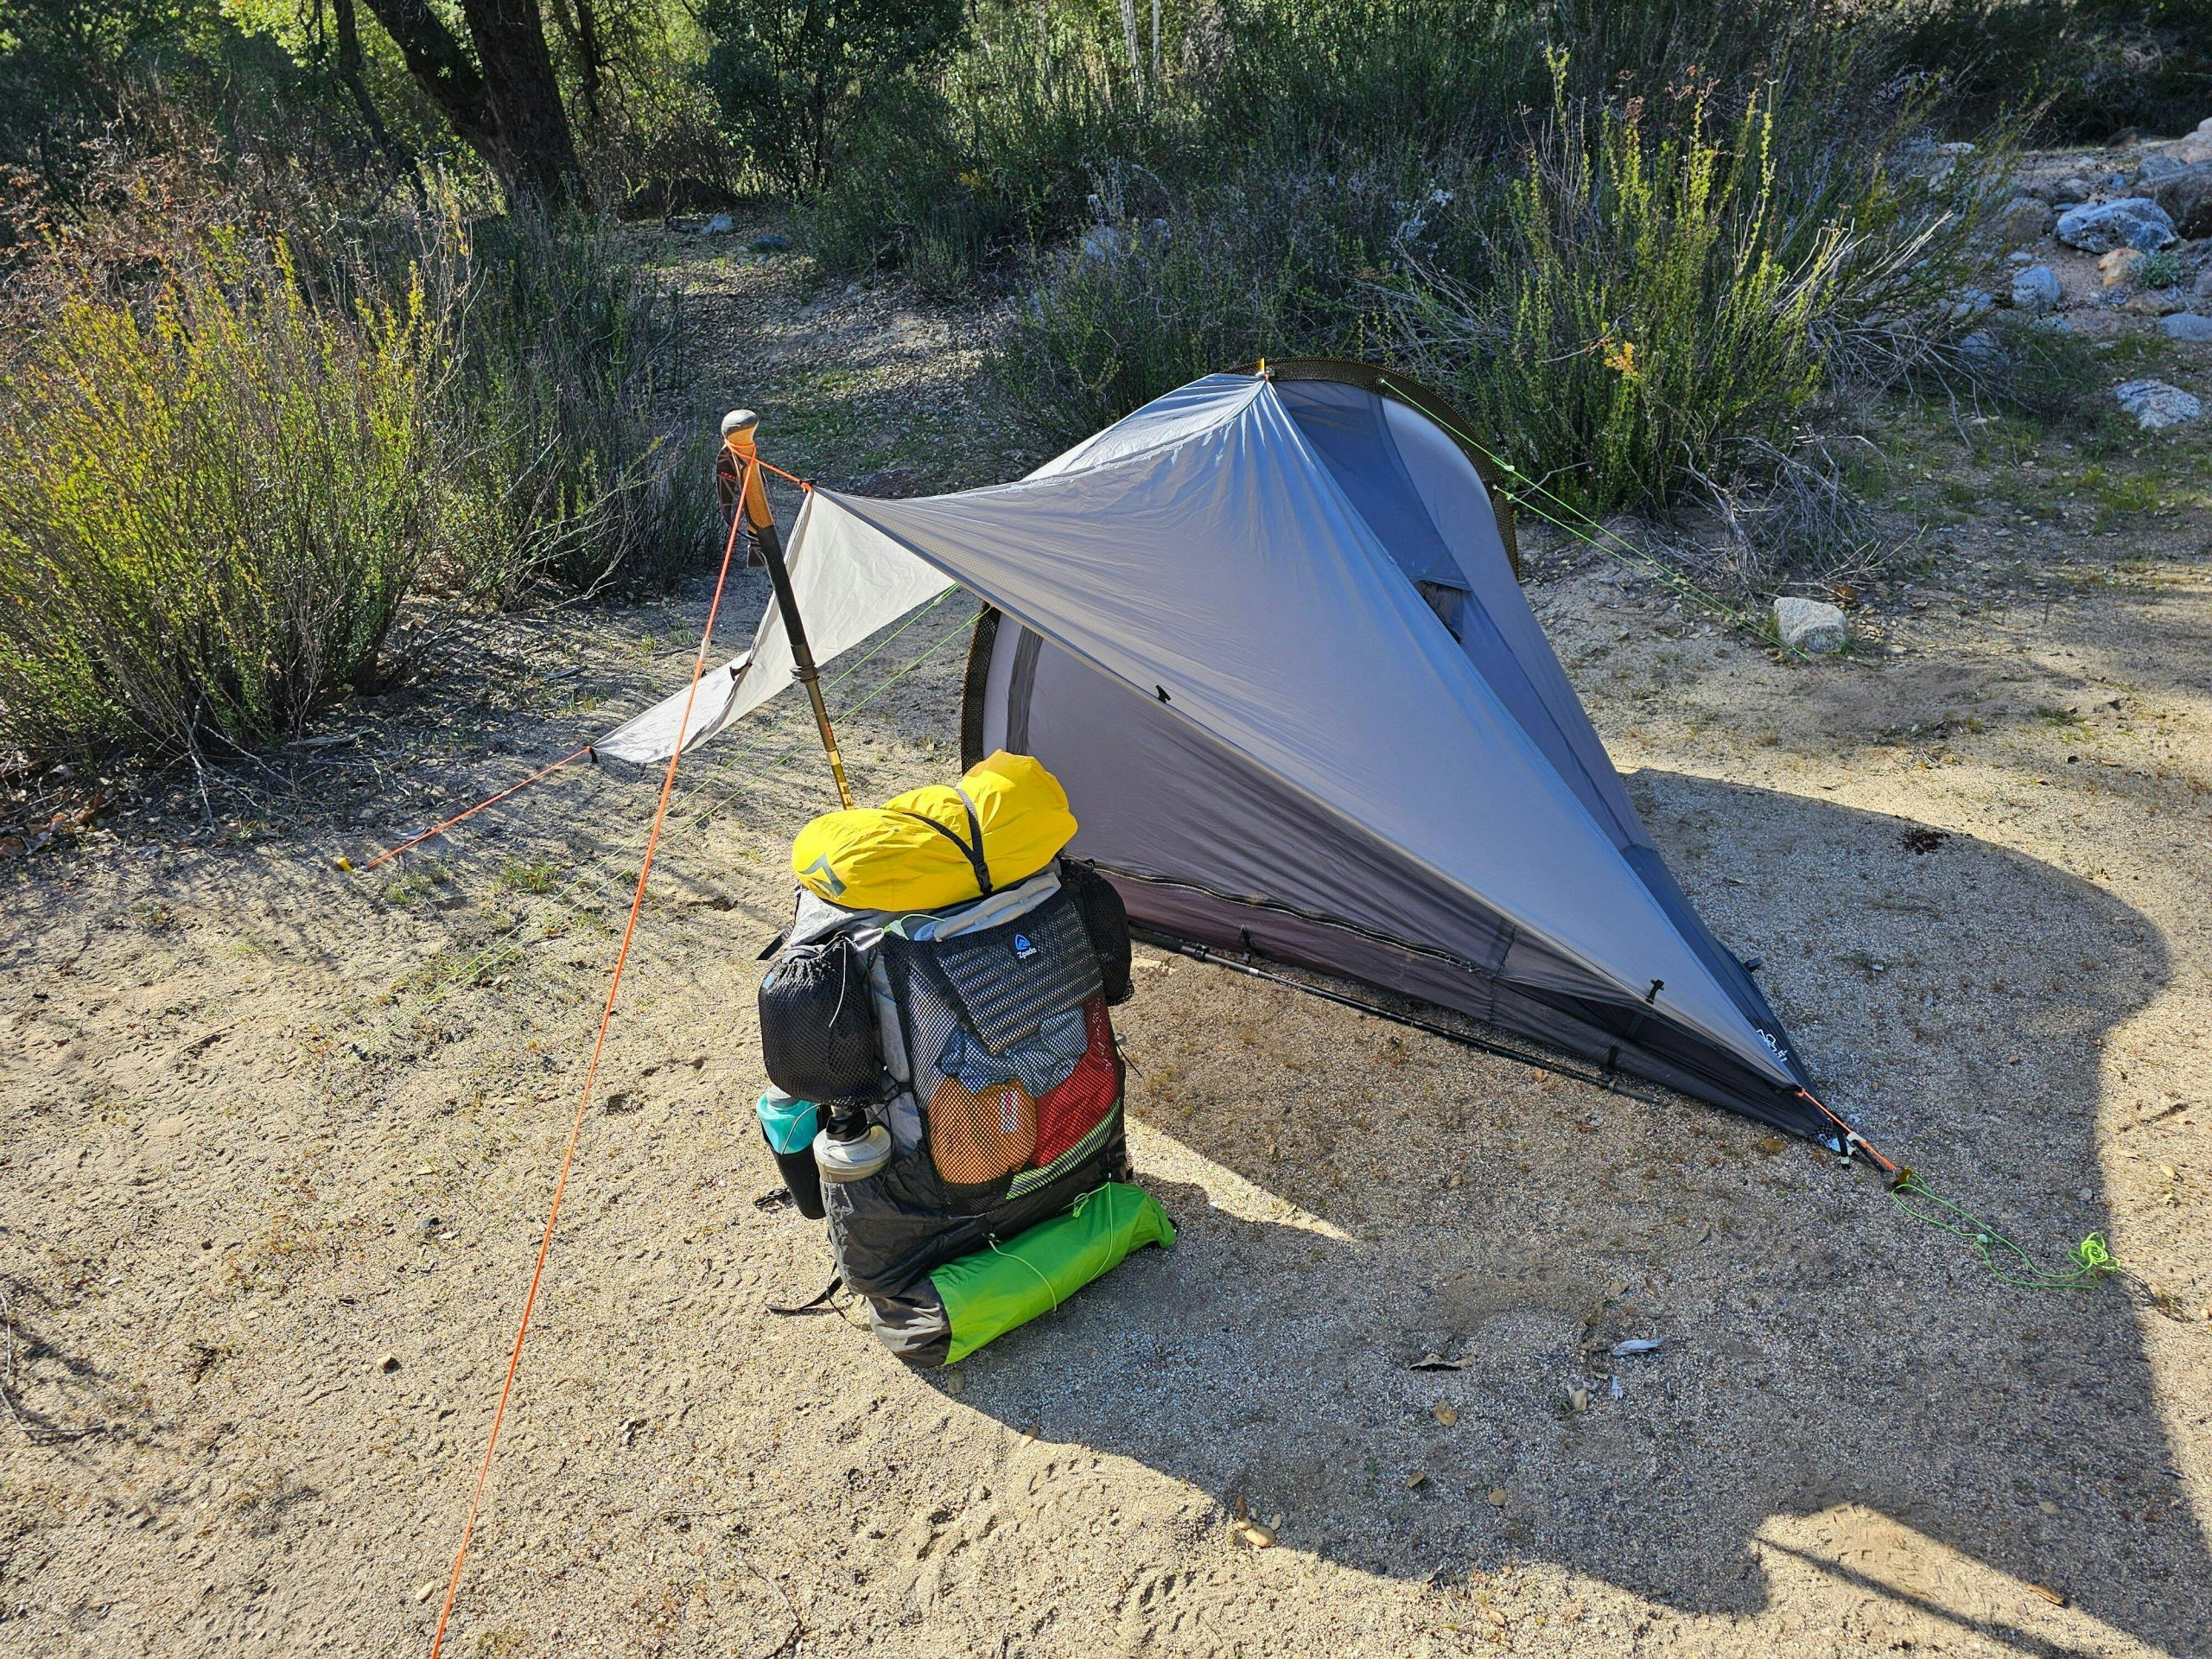
User needs first: what you really want on trail
You want sleep that restores, a pack that stays light, and a shelter that goes up fast when dark arrives. This is a user-first checklist: comfort for muscles, weight for kilometers, and setup time for storms. For some hikers a camping tent bundle still fits—but if your priority is hammock-style suspension, we consider how to meet those three needs without compromise.

Comfort: where posture, insulation, and bug protection intersect
Comfort for a hammock tent is not mystery. Look at sleeping angle and pad compatibility first. A slightly diagonal lay reduces pressure points. Insulation must sit between you and the air—underquilts or insulated pads matter more than many marketing claims. Check netting size for bug protection; small mesh is quieter and keeps midges out. My guidance: choose a roomy hammock body with a reliable integrated bug net and plan for an underquilt if temperatures drop below 40°F.
Weight: real decisions, not headline numbers
Weight figures give you a starting point, but decision comes from system thinking: include suspension, tarp, stakes, and repair kit into the pack weight. A hammock alone may list 1 lb, yet the workable shelter system often approaches 2–3 lb. Think in terms of grams you can live with per 10 miles of hiking. As you evaluate options, favor modular pieces that double for other uses—tarp can serve as sun shelter, straps can secure a pack.
Setup and reliability: simple methods that save nights
Setup speed depends on hardware and habit. Use tree-friendly straps with multiple anchor points and learn two reliable knots or a webbing loop method. Pitch the tarp with a low ridge in rain, steeper in wind. Practice at home until you can rig a comfortable pitch in under seven minutes; that time saves cold, wet frustration on trail. Avoid ultralight fiddly carabiners that freeze or small toggles that slip under load.
Real-world testing and expert perspective
As a guide on multi-day trips I tested several hammock systems on sections of the Appalachian Trail; one consistent conclusion held: a well-chosen lightweight tent for backpacking often outperformed cheaper hammock kits when rain and cold combined. That field experience informs these concrete recommendations: prioritize sewn-in netting, predictable suspension, and a tarp design that sheds angled wind.
Alternatives and common pitfalls
If you remain unsure, compare three paths: a hammock tent system, a single-wall ultralight tent, or a tarp-and-bivy combo. Hammocks excel in wet, rocky camps where no flat ground exists. Single-wall tents give predictable insulation and privacy. Tarps save weight but demand more skill. Frequent errors: relying on inadequate suspension, skipping the underquilt, and trusting minimal stakes in exposed ground. Fix these by rehearsing rigging and carrying minimal repair items.

Quick decision framework for the hiker
Ask yourself three quick questions: Will I camp where trees are present? Do I need fast, sheltered setup in inclement weather? Is weight or comfort my top constraint? If trees are frequent and comfort matters more than shaving ounces, choose a roomy hammock with quality insulation. If exposed ridgelines and wind dominate, favor a compact freestanding tent. Keep notes from two nights in trial setups before you finalize any purchase.
Recommendation synthesis
Hammock tents reward careful selection and practice. The user who prioritizes restful sleep and simple setup will trade some absolute lightness for reliable features: sewn netting, dedicated underquilt compatibility, and a strong tarp design. These choices reduce sleepless nights and repair headaches. For many hikers this balanced approach is what makes the trail pleasurable, and that practical balance is what I see offered by THECATAL.